Changing component parts in your MacBook or Mac Pro sounds pretty daunting, but it is more straightforward than people realize. Before we get into the details of exactly how to change some parts, you will need to know how to ground yourself before touching anything inside the computer.
There are a couple of common ways you can get grounded:
- Tie a conductive wire around your toe or wrist, such as copper. Then tie the other end around a grounded, unpainted metal object. (OR)
- Place your hand on a metal object to release any built-up static, and consider wearing an anti-static bracelet to keep you grounded while you work.
Also, remember to hold peripheral cards by the edges so the natural oils on your hands don’t damage circuits.
How to Install More Memory
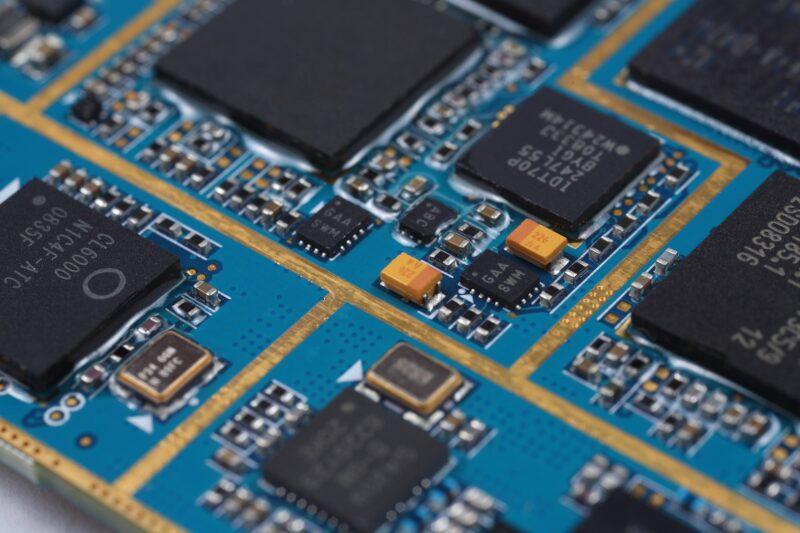
Did you know you can install up to 1.5TB of memory across the 12 memory slots in a MacPro? If your Mac has configurable memory slots like the Mac mini, iMac, and MacPro, take a peek at your System Information. You’ll find a simple diagram of the available memory slots and how to configure them. Here are the basic steps to remove or install more memory:
- Shut down the computer and wait 10 minutes for it to cool down. Unplug all cables except for the power cord. Ground yourself. Unlock and remove the housing. Stand the Mac Pro on its end to remove the access door.
- Remove DIMMs if needed to match a supported configuration or to meet mixed-capacity R-DIMM installation requirements. (Slide each lock to unlock, open, and remove the covers.)
- Once you find the DIMM(s) you want to remove, push down the ejectors on each end.
- Gently grip the DIMM, pull it straight out, and place it into an electrostatic discharge protective bag.
- Before installing a new DIMM, use canned air to blow out dust or residue.
- Gently hold the DIMM ends to insert them into the slot. Be sure it is aligned before applying force to insert it. Be careful!
- Simply replace the cover and lock it back up. You’re ready to test out the new expanded memory!
PCIe Card Installation
If you want to connect your Mac Pro computer to one or more peripheral devices, you will want to install a Peripheral Component Interconnect Express (PCIe). The number of PCI Express lanes directly corresponds to the bandwidth your graphics will have access to, so if you do not install one, you will likely experience reduced performance.
To install a PCIe card in a Mac Pro:
- Shut down your Mac and wait about 10 minutes for the computer to cool down. Then unplug all of the cables except for the power cord.
- Ground yourself using one of the methods listed above.
- Slide the lock to the unlocked position, then using a Phillips-head screwdriver, remove any brackets and slot covers that cover the slots where you want to install your card.
- Hold the card by its corners and make sure not to touch the gold connectors or components on the card.
- Line up the card pins with the slot and insert them into the PCIe slot. Reinstall any side brackets that were removed. Slide the lock back into position and reinstall the top cover.
NOTE: Adding a PCIe card to a MacBook Pro must be done using Thunderbolt.
How to Replace Mac Pro Power Supply
Start by shutting down your Mac Pro and wait 10 minutes for the computer to cool down. Unplug all cables except for the power cord. Ground yourself, unlock the housing, and remove it. Unscrew the screws with a Phillips screwdriver and remove both clamp plates. Remove the one T8 screw from the power supply grounding bracket. Pull out the power supply by gripping both sides so it slides out easily. (NOTE: If it is easier to maneuver, first remove any MPX modules. Don’t forget to replace them once the new power supply is installed.)
Insert the new power supply in the bottom slot and push it in carefully but firmly so it is securely connected. Reattach and tighten the T8 screw and the clamp plates. Replace the housing, twist the top latch and lock it. There you have it! Easier than you imagined.
We hope this tutorial helps! At DV Warehouse, we have all of the parts and components you will need. All parts come with a 90-day warranty, and an additional 1-2 years extended warranty is available.
If you prefer, our experts can take care of replacing components for you. We enjoy helping our customers get the most out of their Apple computers. Check back often for new tips and suggestions!

Related Posts


Most Popular Models Today
-
MacBook Pro 2.4Ghz Intel Core i5 4GB 500GB SuperDrive UNIBODY 13" MD313 Late 2011
$649.00 USD $329.00 USD -
MacBook Pro 2.66GHz Intel Core 2 Duo 4GB 250GB DVDR UNIBODY 13" MC375 Mid 2010
$799.00 USD $664.00 USD -

MacBook Pro 2.9GHz Intel Dual-Core i5 16GB 256GB Flash Storage 13" MF841 2015
$699.00 USD $459.00 USD